How to Create a Mapbox Token and Set Restriction Domains for your store locator
Mapbox tokens are a fundamental requirement for accessing and utilizing Mapbox APIs and SDKs. To ensure secure usage, you can create a Mapbox token and set restriction domains that limit where the token can be employed. Here's a streamlined guide to help you through the process:
Creating Your Mapbox Token
Creating a Mapbox Token
- Visit the Mapbox Account page and log in.
- Navigate to the Access Tokens tab.
- Click the "Create a token" button.
- Provide a name and description for your token.
- Select the necessary scopes for your token's functions.
- Finally, click "Create token."

Setting Restriction Domains
Once your token is created, you can establish restriction domains to bolster security and prevent unauthorized token use. Follow these steps:
- Log in to your Mapbox Account and access the Access Tokens tab.
- Locate the token you wish to configure restriction domains for and click its name.
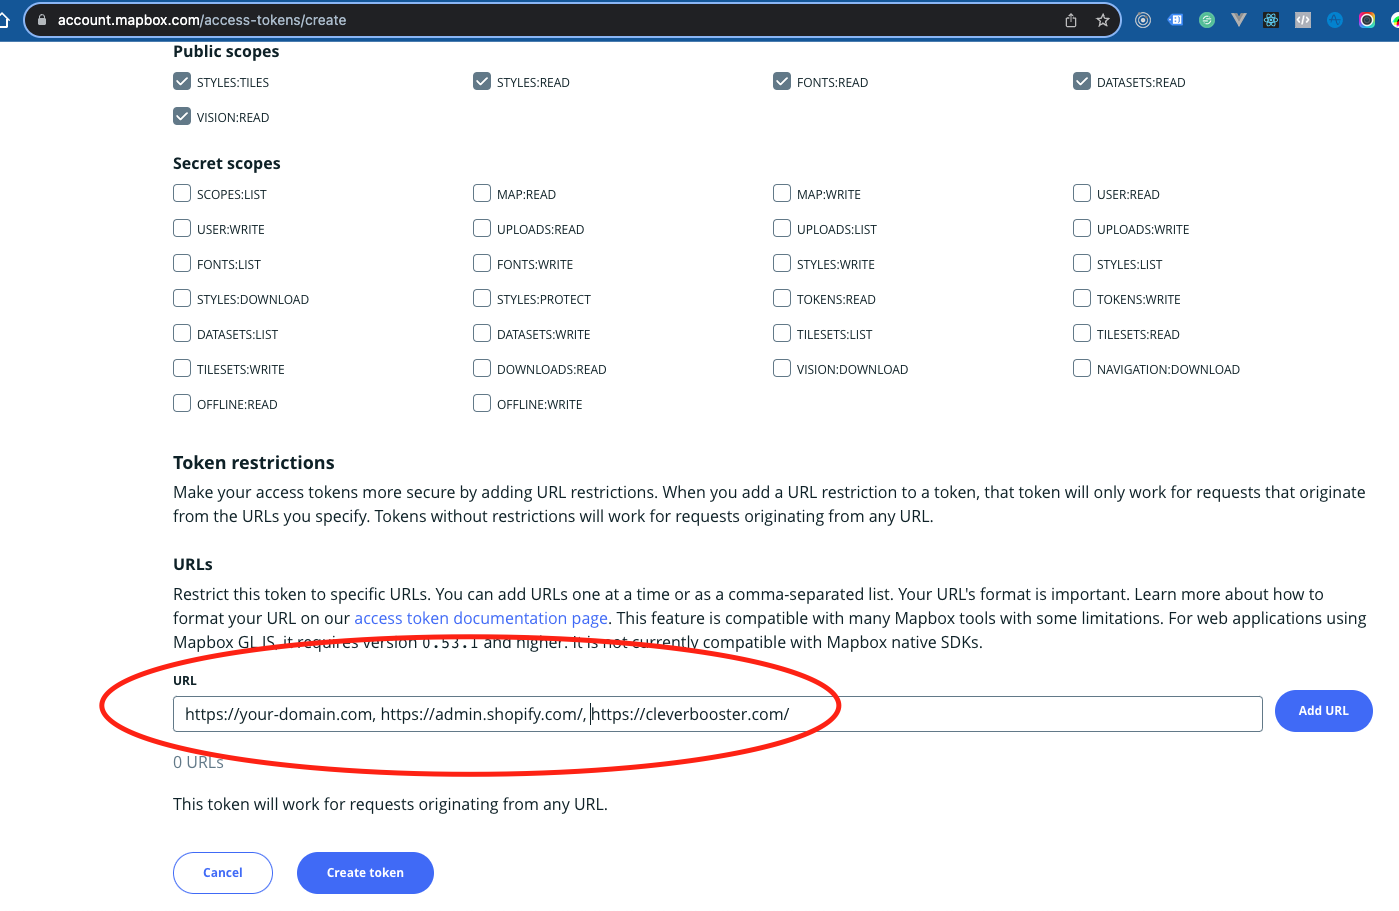
- Under the "Allowed URLs" section, click "Add allowed URL."
- Enter the URL where you want the token to be valid.
- Click "Add URL."
You have the option to add multiple allowed URLs to your token. If you decide not to specify any allowed URLs, the token will function from any URL.
NOTE: you should include these URLs https://admin.shopify.com/ https://cleverbooster.com/ to the mapbox token

Using Your Mapbox Token
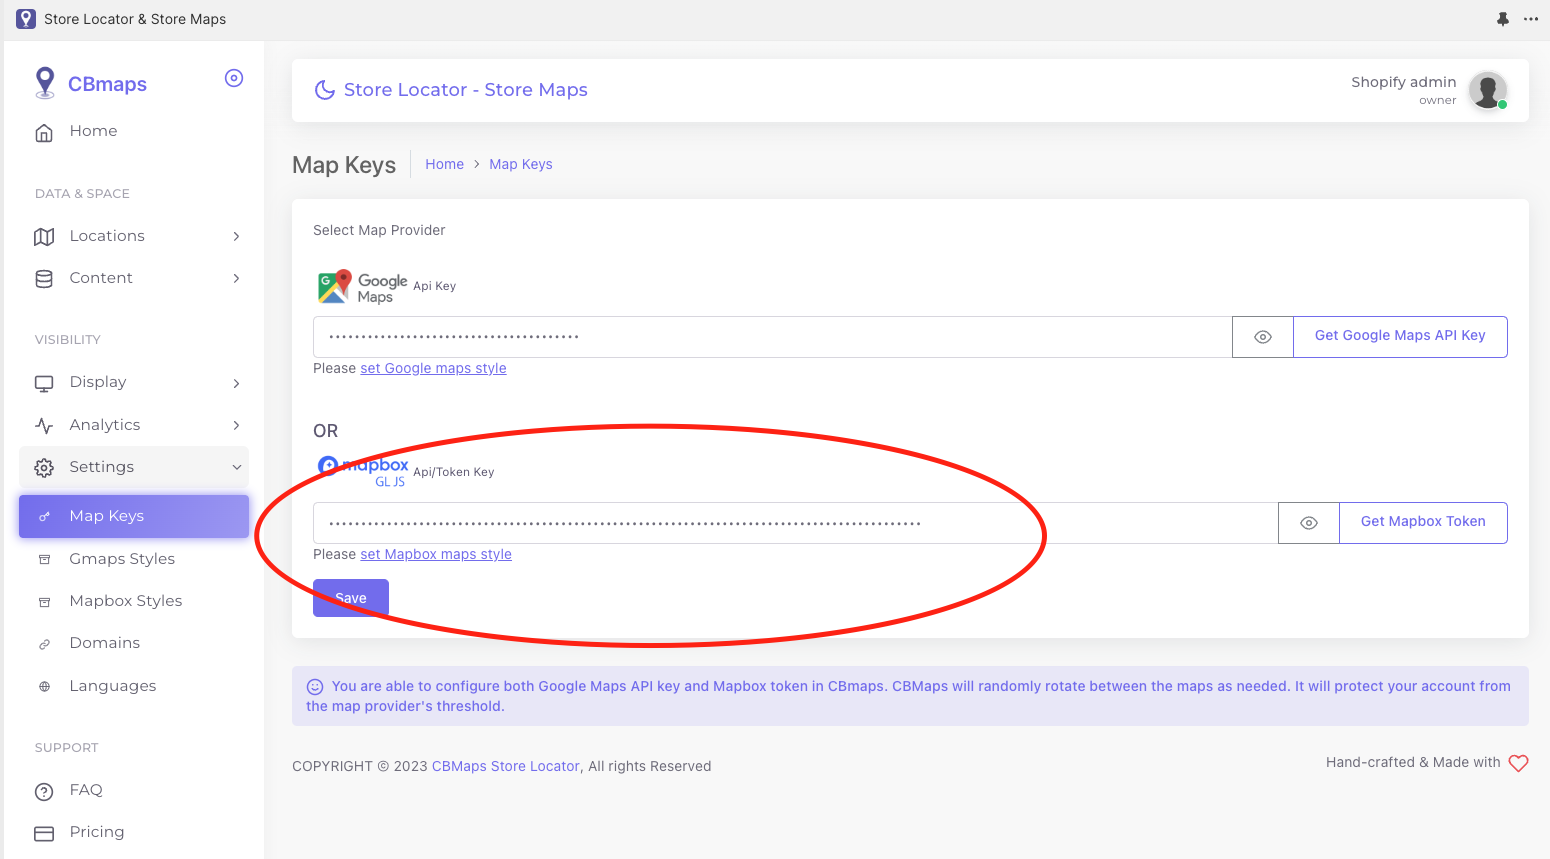
With your Mapbox token created and restriction domains in place, you can now put the token on CBmaps => Settings => Map Keys => Mapbox key

In Conclusion
Creating a Mapbox token and configuring restriction domains is a straightforward process that bolsters the security of your account and data. By following these steps, you can craft a token tailored to your specific needs, ensuring secure and connect CBmaps with your Mapbox account quickly
Updated almost 2 years