You can set up auto-responding emails for each form separately when:
- After a user submits a form with 1 email field, it would send Customer Account Submit email
- After administrators/you reject an application/submission. it would send Customer Account Reject email to a user
- After the user accepts/verifies Customer Account Submit email, it would send Customer Account Verification email to a user
- After administrators/you approve an application/submission, it would send Customer Account Approval email to a user
Follow these steps to enable auto-responding email
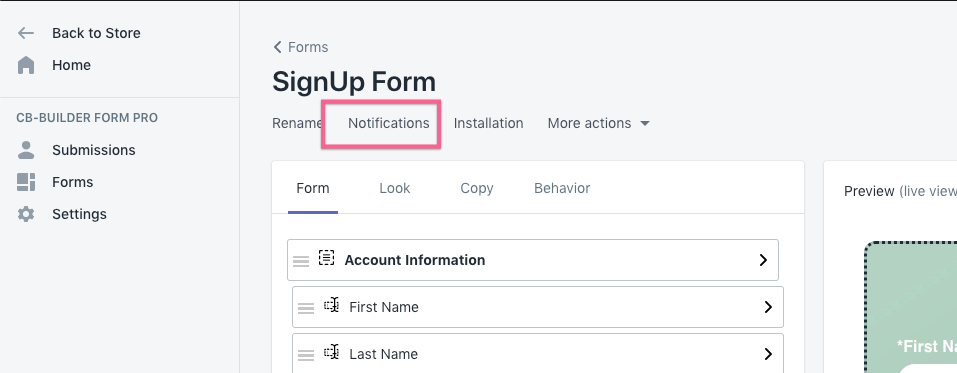
- Click on notification tab on the form setting.
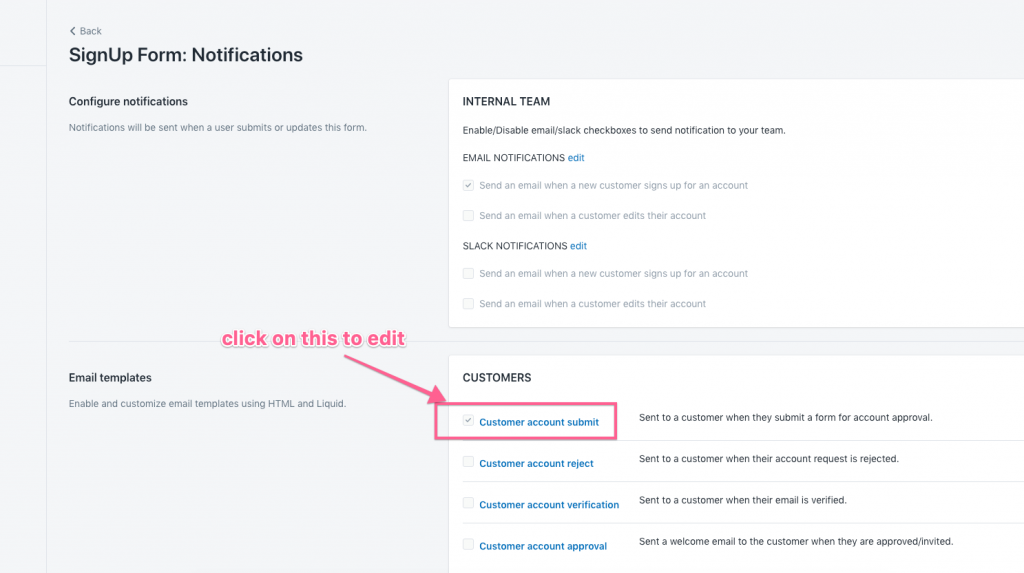
- Click on email type to edit
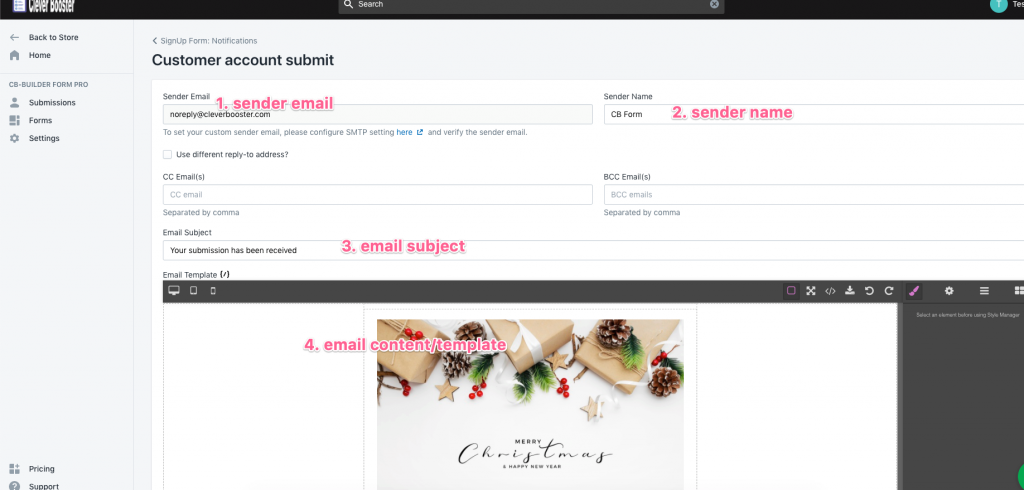
- Configure the email setting (you can only edit Sender email, if you have enabled SMTP config, and verify the
sender email)
- Click on any element on the email template and adjust it
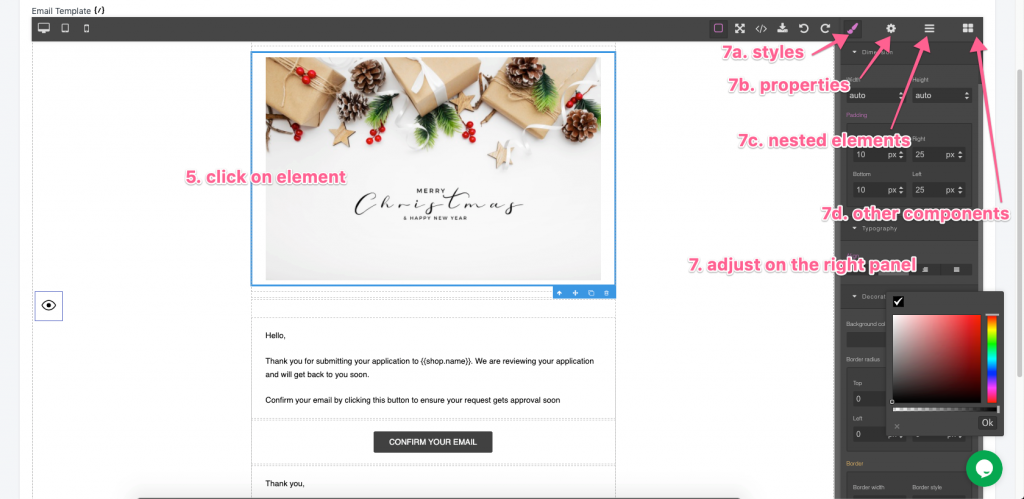
- Submission’s data can be filled with liquid variables (click on variable tag to copy and paste to the email
content)
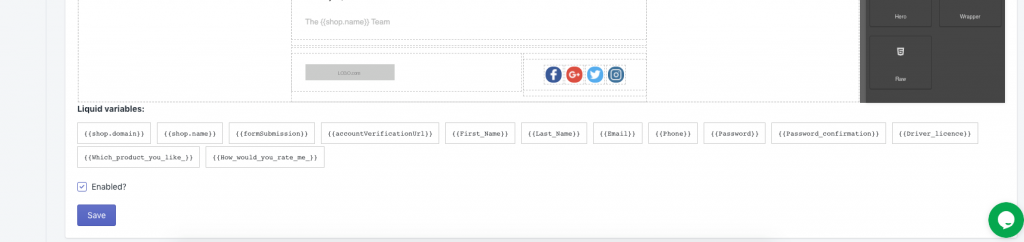
- Click on “eye” icon on the left to send a proof email

- Check enabled checkbox and save.